Understanding the Bailey Chair
Why is it called a Bailey chair?
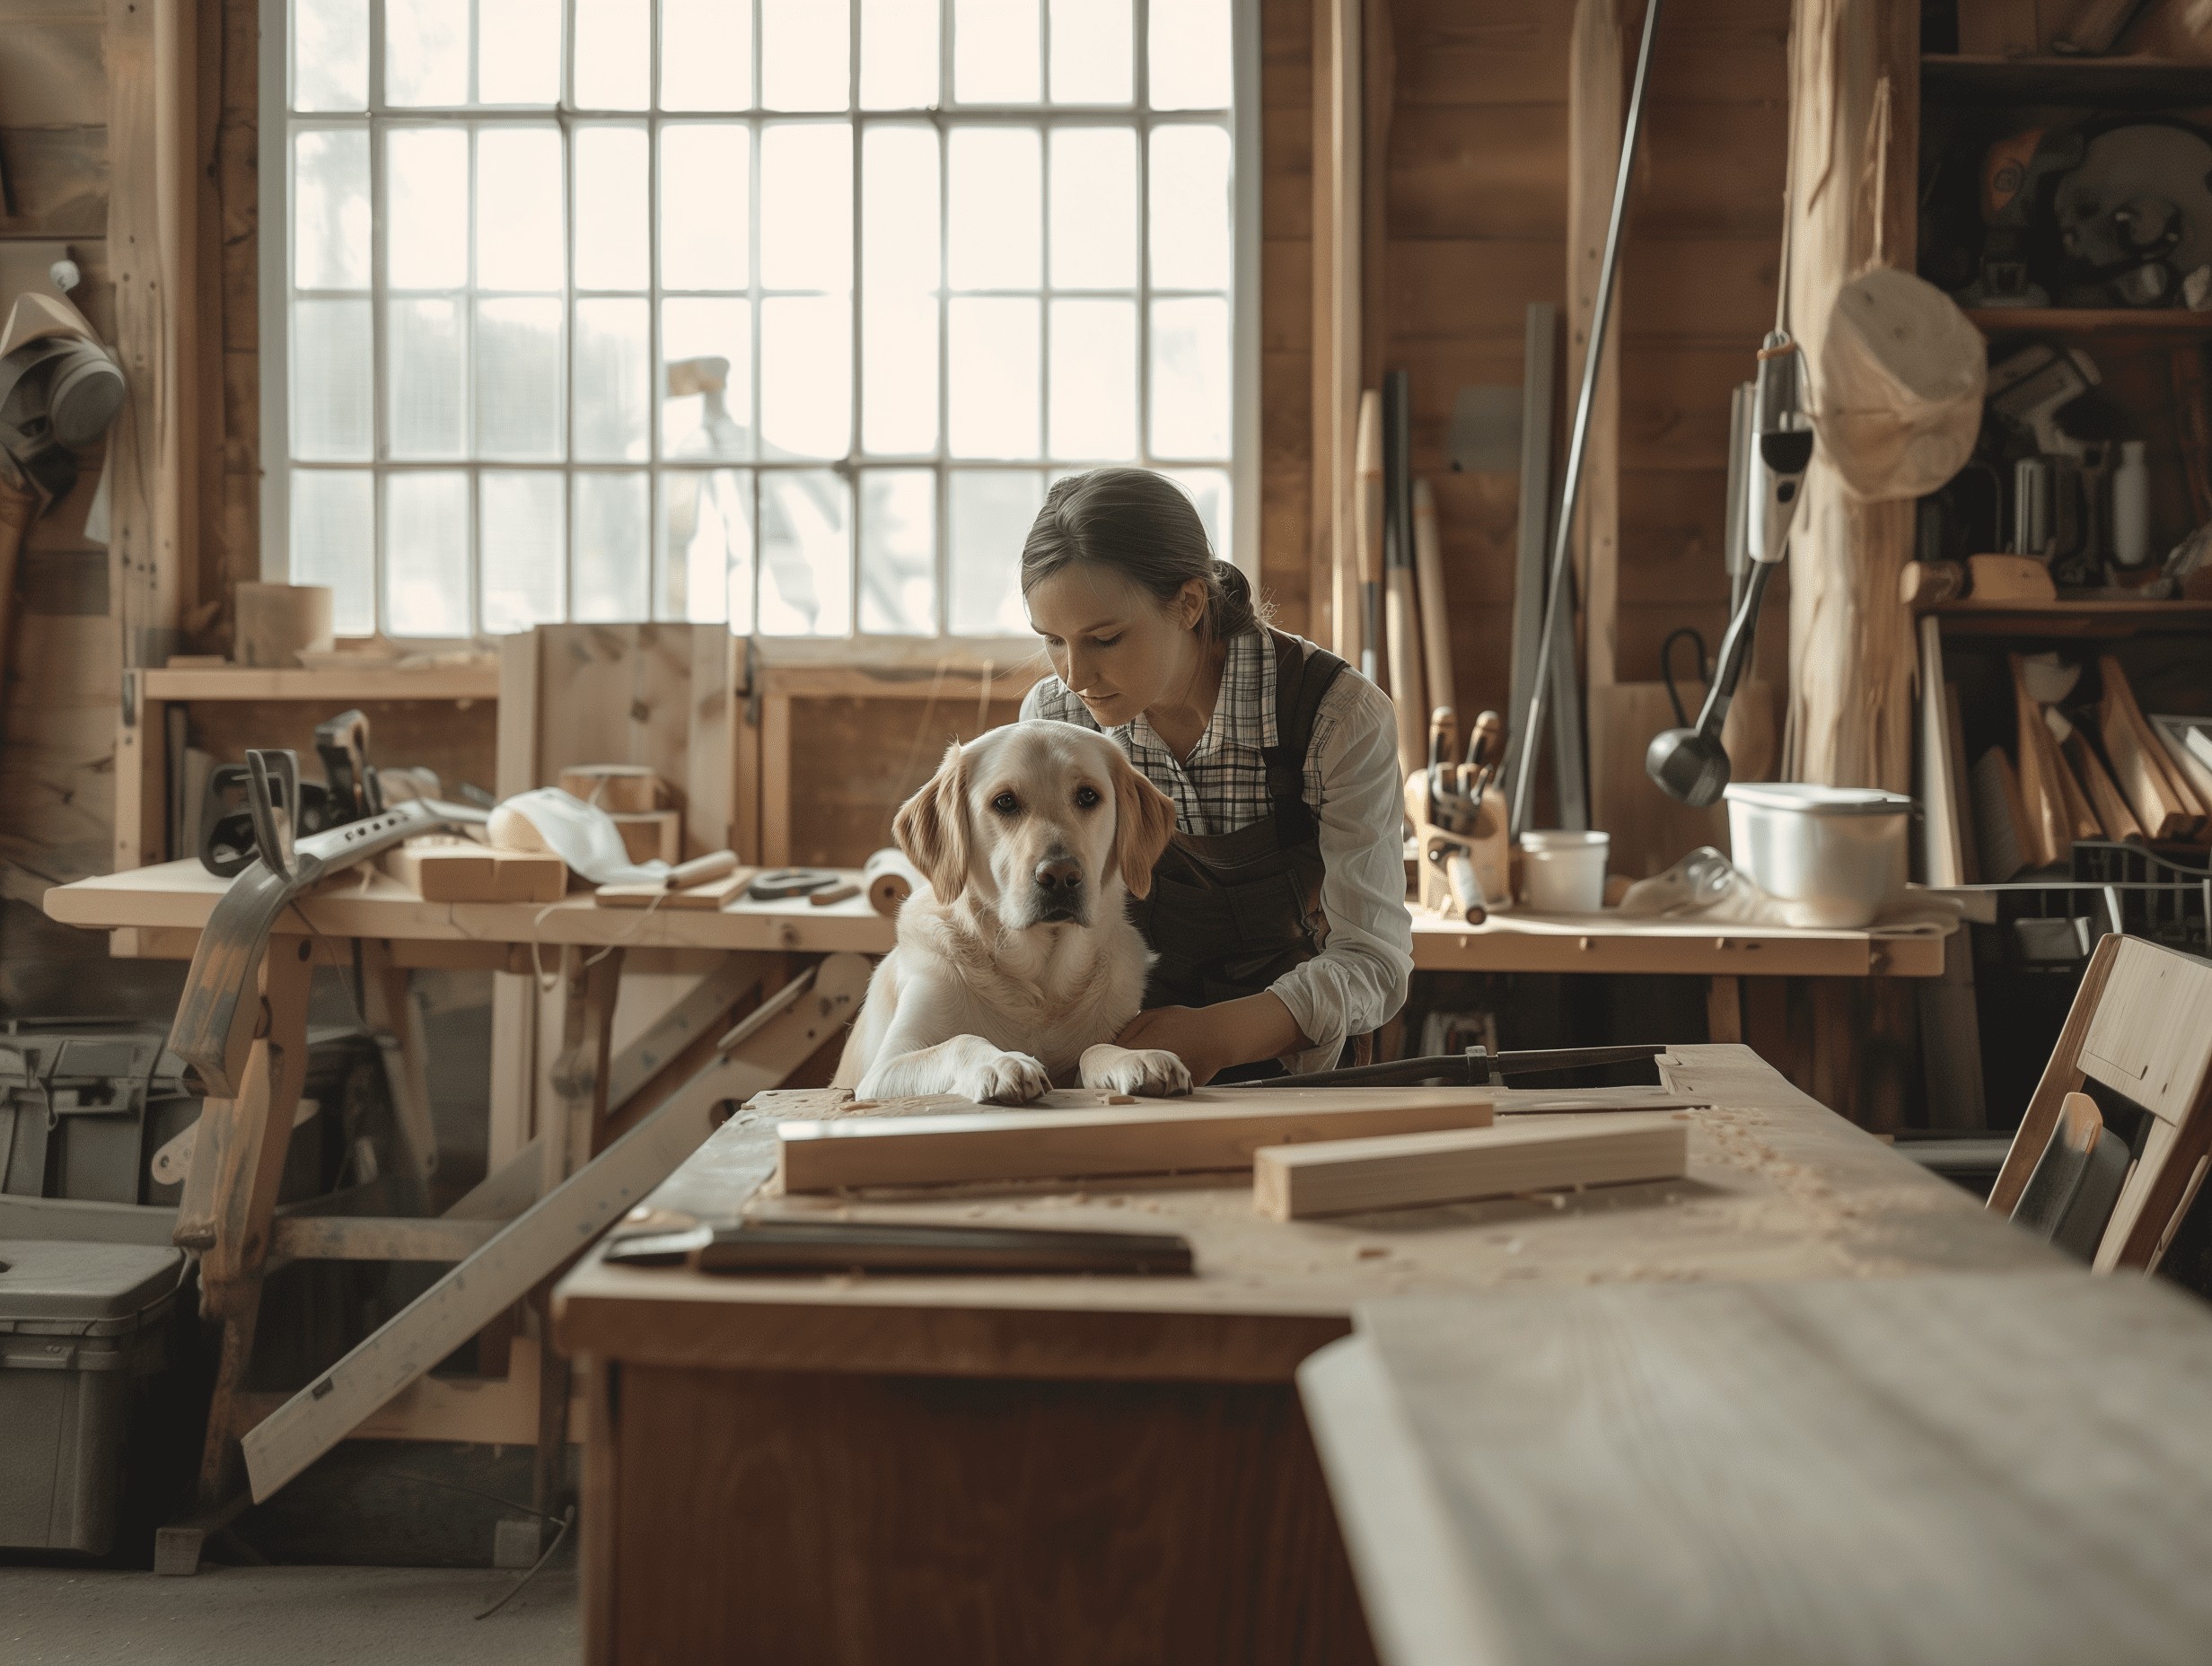
The Bailey chair is named after a dog named Bailey who suffered from megaesophagus, a condition where the esophagus loses its ability to move food into the stomach. The chair was designed by a veterinarian named Dr. Betsy Kennedy, who wanted to find a solution to help Bailey and other dogs with this condition. The Bailey chair is a specially designed chair that allows dogs to eat in an upright position, which helps gravity move food down to the stomach more easily.
Can megaesophagus be cured in dogs?
Megaesophagus is a condition that cannot be cured in dogs. It is a lifelong condition that requires management and special care. The esophagus loses its ability to contract and move food into the stomach, causing food and liquid to accumulate in the esophagus. This can lead to regurgitation, aspiration pneumonia, and malnutrition. While there is no cure for megaesophagus, the use of a Bailey chair can greatly improve the quality of life for dogs with this condition.
What is a Bailey chair for?
By sitting in the chair, dogs can maintain an upright posture while eating, preventing food from getting stuck in the esophagus and reducing the risk of regurgitation and aspiration. The chair is adjustable to accommodate dogs of different sizes and can be custom-made to fit the specific needs of each dog. It provides a safe and comfortable way for dogs with megaesophagus to eat their meals without the risk of choking or complications.
Preparing to Build Your DIY Bailey Chair
Materials Needed
To build a Bailey Chair for your dog, you will need a few materials. These include sturdy wood boards, screws, washers, nuts, bolts, hinges, and fabric to create the seat and backrest. It's important to choose high-quality materials that can withstand the weight of your dog and provide stable support.
Tools Required
In order to construct a Bailey Chair for your furry friend, you will require some specific tools. These tools include a saw or circular saw to cut the wood boards into appropriate sizes according to the measurements needed for your dog's chair. Additionally, you'll need a drill with various drill bits to create holes for screws and bolts. A screwdriver or power drill will be necessary for securing the screws tightly. Lastly, measuring tape and carpenter’s square are indispensable in ensuring accurate dimensions throughout the construction process.
Measurements: Sizing The Chair To Your Dog
Measuring your dog correctly is key when building a Bailey Chair tailored specifically to their needs. Begin by measuring their height from ground level up to their chin while standing straight on all fours; this measurement determines how tall the front legs of their chair should be placed so they can comfortably eat without straining themselves too much. Next, measure their width across shoulders at its widest point as well as around chest girth just behind front legs; these dimensions determine how wide both sides of seats should extend outwards during construction process.
Building the Bailey Chair
Cut List & Parts
To build a Bailey Chair for dogs, you will need to start with a cut list of parts. The chair consists of several pieces that need to be measured and cut accurately. The main components include the legs, supports, frame rails, backrest rail, base slats, and back slats. Each piece should be carefully measured according to the dimensions provided in the design plans.
Assembling the Frame
Once you have all the necessary parts prepared, it's time to assemble the frame of the Bailey Chair for dogs. Begin by attaching the legs to the supports using screws or nails. Make sure they are securely fastened to provide stability and strength. Next, attach the frame rails between each pair of legs at both sides of the chair. This will form a sturdy foundation for your dog's chair.
Adding Base and Back
After completing the frame assembly, it's time to add the base and back elements to make your Bailey Chair functional and comfortable for your dog. Start by attaching multiple base slats across from one side support rail to another side support rail using screws or nails. These slats should be evenly spaced and secure enough to hold your dog's weight without sagging.
Final Touches
Installing the Door
To install the door of the Bailey Chair for Dogs, begin by measuring and marking the desired height on one side of the chair. Use a saw to carefully cut out a rectangular opening following the marked measurements. Sand down any rough edges to create a smooth surface. Next, attach hinges to both sides of the opening using screws or nails, ensuring they are properly aligned and securely fastened. Finally, mount a latch or lock mechanism on one side of the door to keep it closed when necessary.
Adding The Food Tray
Adding a food tray is an important feature in building a Bailey Chair for Dogs. Start by selecting a suitable tray that fits comfortably within your chair's design and dimensions. Measure and mark where you want to position it on one side of the chair's frame. Securely attach brackets or supports underneath this area using screws or bolts, ensuring they are level and stable. Place the tray onto these supports and check that it sits securely without wobbling or tipping over. Test its stability by placing some weighted objects on top before allowing your dog access.
Cushioning And Comfort Features
Cushioning and comfort features are key considerations when building a Bailey Chair for Dogs DIY project. Begin by selecting appropriate padding materials such as foam inserts or soft cushions that can provide support for your dog while sitting in the chair comfortably. Cut these materials according to your chair's seat dimensions, making sure they fit snugly without any gaps or loose ends that could pose safety risks for your pet. Attach them securely with adhesive glue or fabric straps so they stay in place during use but can also be easily removed for cleaning purposes if needed.
Training Your Dog to Use the Bailey Chair
Familiarizing Your Dog with the Chair
When introducing your dog to the Bailey Chair, it is important to start by familiarizing them with the chair itself. Place the chair in a quiet and comfortable area of your home where your dog feels safe. Allow them to approach and sniff the chair at their own pace, without any pressure or force. You can also use treats or their favorite toy to create positive associations with the chair. This gradual introduction will help your dog feel more comfortable around the chair.
Feeding in The Chair
Feeding in the Bailey Chair is an effective way to manage dogs with megaesophagus. Start by placing a small amount of food on a spoon or shallow dish attached securely to the front of the chair using Velcro straps or zip ties. Position your dog comfortably in front of the chair and guide their head into an upright position using gentle pressure on their chin and forehead. Slowly feed small portions of food, allowing enough time for each bite to be swallowed before offering more. Feeding in this elevated position helps gravity assist in moving food down into their stomachs.
Ensuring Comfort and Safety
Ensuring comfort and safety for your dog while using the Bailey Chair is paramount. Use soft padding such as blankets or towels inside the seat area for added comfort during meal times. Make sure that all straps are secure but not too tight, allowing freedom of movement while preventing slipping or sliding out of place during feeding sessions. Regularly check for any signs of discomfort such as rubbing against edges or redness on contact areas, making adjustments as necessary for optimal fit and support. By prioritizing comfort and safety, you can enhance your dog's overall experience when using this specialized piece of furniture.
Maintenance and Care
Regular Check-ups for Wear and Tear
Regular check-ups are important for maintaining the Bailey Chair for Dogs DIY. Over time, wear and tear can occur, so it's necessary to inspect the chair regularly. Check for any loose screws or bolts that may need tightening. Make sure all parts of the chair, including the frame, seat, and footrests, are in good condition. If you notice any damage or signs of wear, it's recommended to replace those components as soon as possible.
Modifications & Adjustments
Modifications and adjustments may be needed when building a Bailey Chair for Dogs DIY to suit your dog's specific needs. Every dog is different in terms of size and comfort requirements, so customization is key. Consider adjusting the height of the chair to align with your dog's feeding position. You may also need to modify the width or depth of certain parts depending on your dog's measurements. It's important to carefully follow the step-by-step guide while making these modifications to maintain structural integrity.
Cleaning The Chair
Keeping the Bailey Chair for Dogs DIY clean is an integral part of its maintenance routine. Regularly wipe down all surfaces with a damp cloth or pet-safe cleaning solution to remove dirt and food debris that may accumulate over time. Pay special attention to areas where spills commonly occur such as around food bowls or water dispensers attached to the chair. Avoid using harsh chemicals that could potentially harm your dog if they come into contact with them.