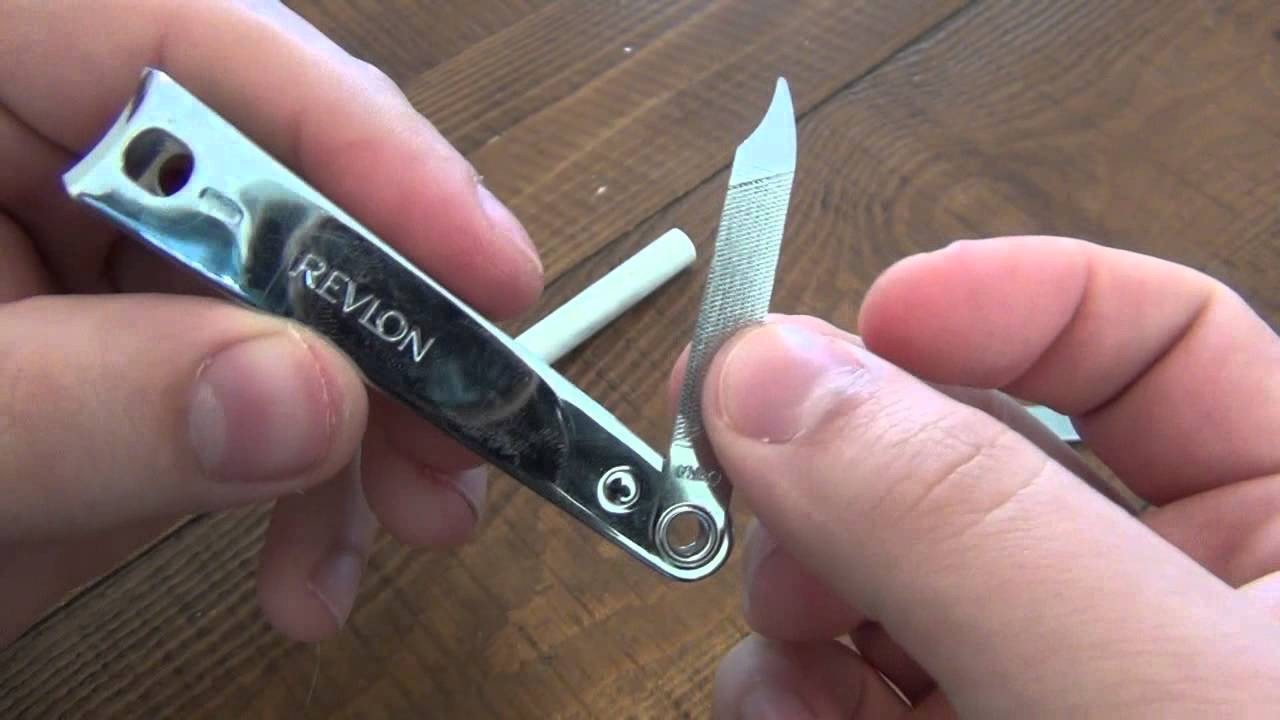
Nail clippers, despite being simple grooming tools, play a vital role in personal hygiene and nail care. Over time, even high-quality clippers can lose their cutting edge, leading to jagged cuts and potential nail damage. While replacing dull clippers is an option, learning to sharpen them properly can save money while ensuring optimal performance. This report explores effective methods to sharpen nail clippers, drawing from expert recommendations and proven techniques. Understanding these sharpening approaches can help maintain the tools' functionality and extend their usable lifespan significantly.
Sharpening Nail Clippers
Quick Sandpaper Method
The fastest way to sharpen nail clippers is using fine-grit sandpaper. Open the clipper blades fully and place a folded piece of 400-600 grit sandpaper between them. Close the clippers to grip the sandpaper, then pull it through 5-6 times while maintaining consistent pressure. This method works well for minor dulling and doesn't require disassembly.
Professional Sharpening Techniques
For severely dull clippers, professional sharpening requires disassembling the tool and using specialized equipment. A grinding wheel at 3000-4000 RPM can restore the original cutting angle when used carefully at a 35-45 degree angle. Only remove minimal material to avoid weakening the blade. Test sharpness gradually between passes to prevent over-grinding. Reassemble carefully to maintain proper blade alignment.
The Importance of Sharp Nail Clippers and Their Maintenance
Health and Hygiene Benefits
Sharp nail clippers are essential for preventing nail damage and infections. Clean, precise cuts reduce the risk of ingrown nails, hangnails, and bacterial growth. Dull blades can crush and tear nails instead of cutting cleanly, creating jagged edges that snag and harbor bacteria.
Preventive Care Guidelines
Regular maintenance extends clipper lifespan and ensures optimal performance. Key practices include: wiping blades with rubbing alcohol after each use, storing in a dry place to prevent rust, and checking blade alignment periodically. When blades show signs of dulling (ragged cuts, increased pressure needed), sharpen them promptly rather than continuing to use dull clippers that can damage nails. Avoid cutting thick toenails with small fingernail clippers to prevent premature wear.
Methods to Sharpen Nail Clippers Using Different Tools
Using Sharpening Stones
While previous sections covered sandpaper and professional grinding techniques, a sharpening stone provides a manual precision method. Hold the clipper blade at a 35-40 degree angle against a medium grit (1000-2000) water stone. Make 8-10 controlled strokes in one direction, keeping consistent pressure and angle. Switch to a fine grit (4000-6000) stone for final polishing with 4-5 light strokes.
Emery Cloth Technique
Unlike sandpaper which is used while the clipper is assembled, emery cloth works best with disassembled blades. Wrap 320-grit emery cloth around a flat block and stroke each blade individually using light pressure at the original cutting angle. Progress to 600-grit for finishing. This allows precise control over the sharpening angle while maintaining the factory blade geometry.
Safety Precautions When Sharpening Nail Clippers
Eye and Hand Protection
While previous sections covered sharpening techniques, proper safety is crucial. Always wear safety glasses to protect eyes from metal shavings and dust particles during sharpening. Use cut-resistant gloves to prevent accidental cuts from sharp edges or slipping tools. Work in a well-lit area with a stable surface.
Testing Sharpness Safely
After sharpening, test blade sharpness gradually using appropriate materials before use on nails. Cut thin paper strips first - sharp blades should create clean, straight cuts without tearing. Progress to thicker materials like cardstock. Avoid over-testing which can quickly dull freshly sharpened edges. If blades snag or tear materials during testing, additional careful sharpening may be needed. Never test sharpness by running fingers along blade edges.
Conclusion
Nail clipper sharpening can be effectively accomplished through several methods, with the choice depending on the degree of dulling and available tools. For minor dulling, the quick sandpaper method using 400-600 grit paper provides a simple solution without disassembly. More severely dull clippers may require professional sharpening with a grinding wheel or careful manual sharpening using stones or emery cloth while maintaining a proper 35-45 degree angle.
Proper maintenance and sharpening of nail clippers is crucial for both tool longevity and personal hygiene. Sharp blades prevent nail damage, reduce infection risks, and ensure clean cuts. When sharpening, safety precautions like eye protection and proper technique are essential. Regular cleaning, correct storage, and prompt sharpening at early signs of dulling will help maintain optimal clipper performance over time. Testing sharpness gradually with appropriate materials ensures the clippers are properly restored before use on nails.